Working with Collections#
Overview#
This guide walks through creating a collection of files drawn from multiple datasets, adding and removing resources as your curation evolves, and retrieving the collection programmatically for a downstream pipeline. The examples use a model-training scenario — assembling a curated subset of camera images across several recording sessions — but the same steps apply to any curation workflow.
For background on collections, versioning, content modes, and resource types, see Collections.
Prerequisites#
A Roboto account and at least two datasets with files already uploaded.
The Roboto CLI or Python SDK installed and authenticated. See SDK & CLI.
The IDs of at least two files (or datasets) you want to group together. The steps below use example IDs — substitute your own wherever you see
cl_abc123,fi_aaa111, and so on.
Create a collection#
Via the web UI:
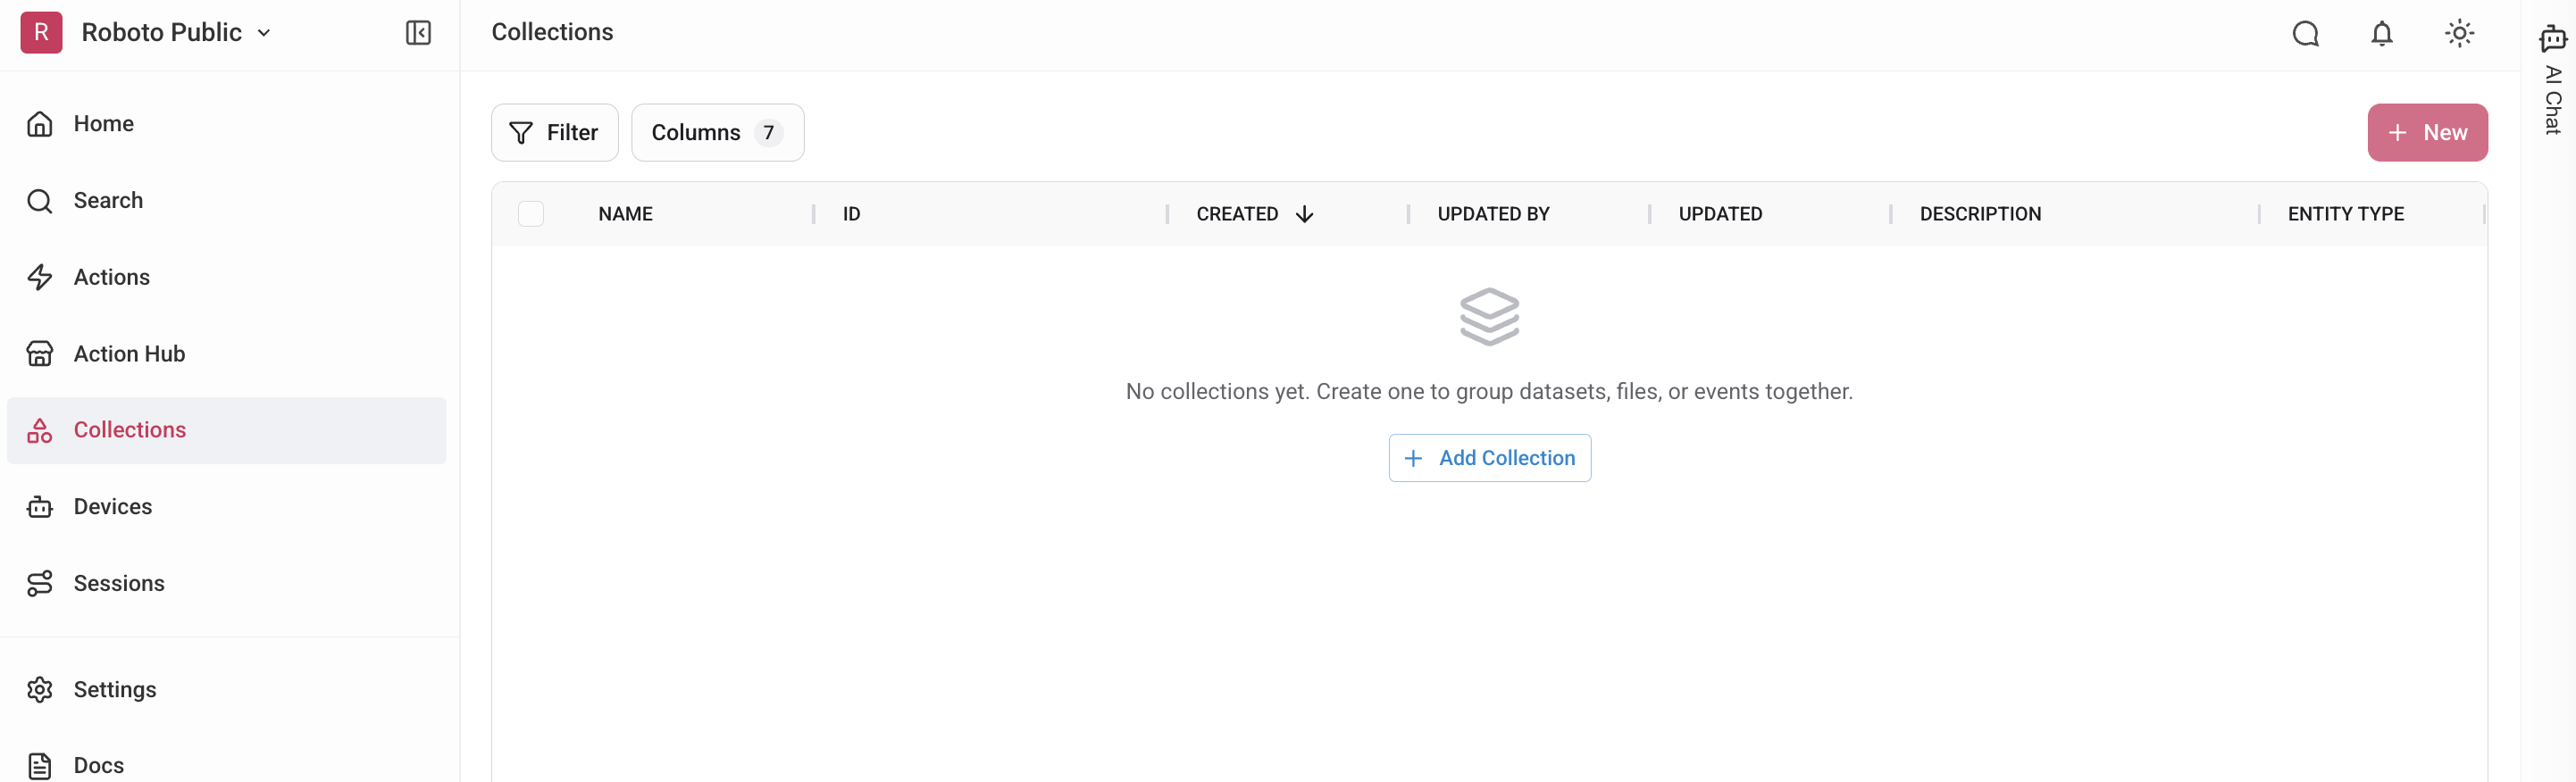
Open the Collections page from the left navigation bar.
Click + New or + Add Collection.
Enter a name (for example, Training images Q2) and optionally a description.
Choose a resource type: File, Dataset, or Event. Select File for this walkthrough.
Click Create. The new collection opens empty.
Note
The resource type is fixed at creation time and cannot be changed later. A file collection holds files; a dataset collection holds datasets.
Via the CLI:
# Create an empty file collection
roboto collections create \
    --name "Training images Q2" \
    --resource-type file

# Create and seed a collection with files in one step
roboto collections create \
    --name "Training images Q2" \
    --file-id fi_aaa111 \
    --file-id fi_bbb222
The command prints the new collection record as JSON. Note the
collection_id value (e.g., cl_abc123) — you will need it in subsequent
steps.
Via the SDK:
from roboto import Collection
from roboto.domain.collections import CollectionResourceType

# Create an empty collection
collection = Collection.create(
    name="Training images Q2",
    resource_type=CollectionResourceType.File,
)
print(collection.collection_id)  # e.g. cl_abc123

# Or create and seed in one call
collection = Collection.create(
    name="Training images Q2",
    resource_type=CollectionResourceType.File,
    file_ids=["fi_aaa111", "fi_bbb222"],
    tags=["draft"],
)
Add resources#
Via the web UI:
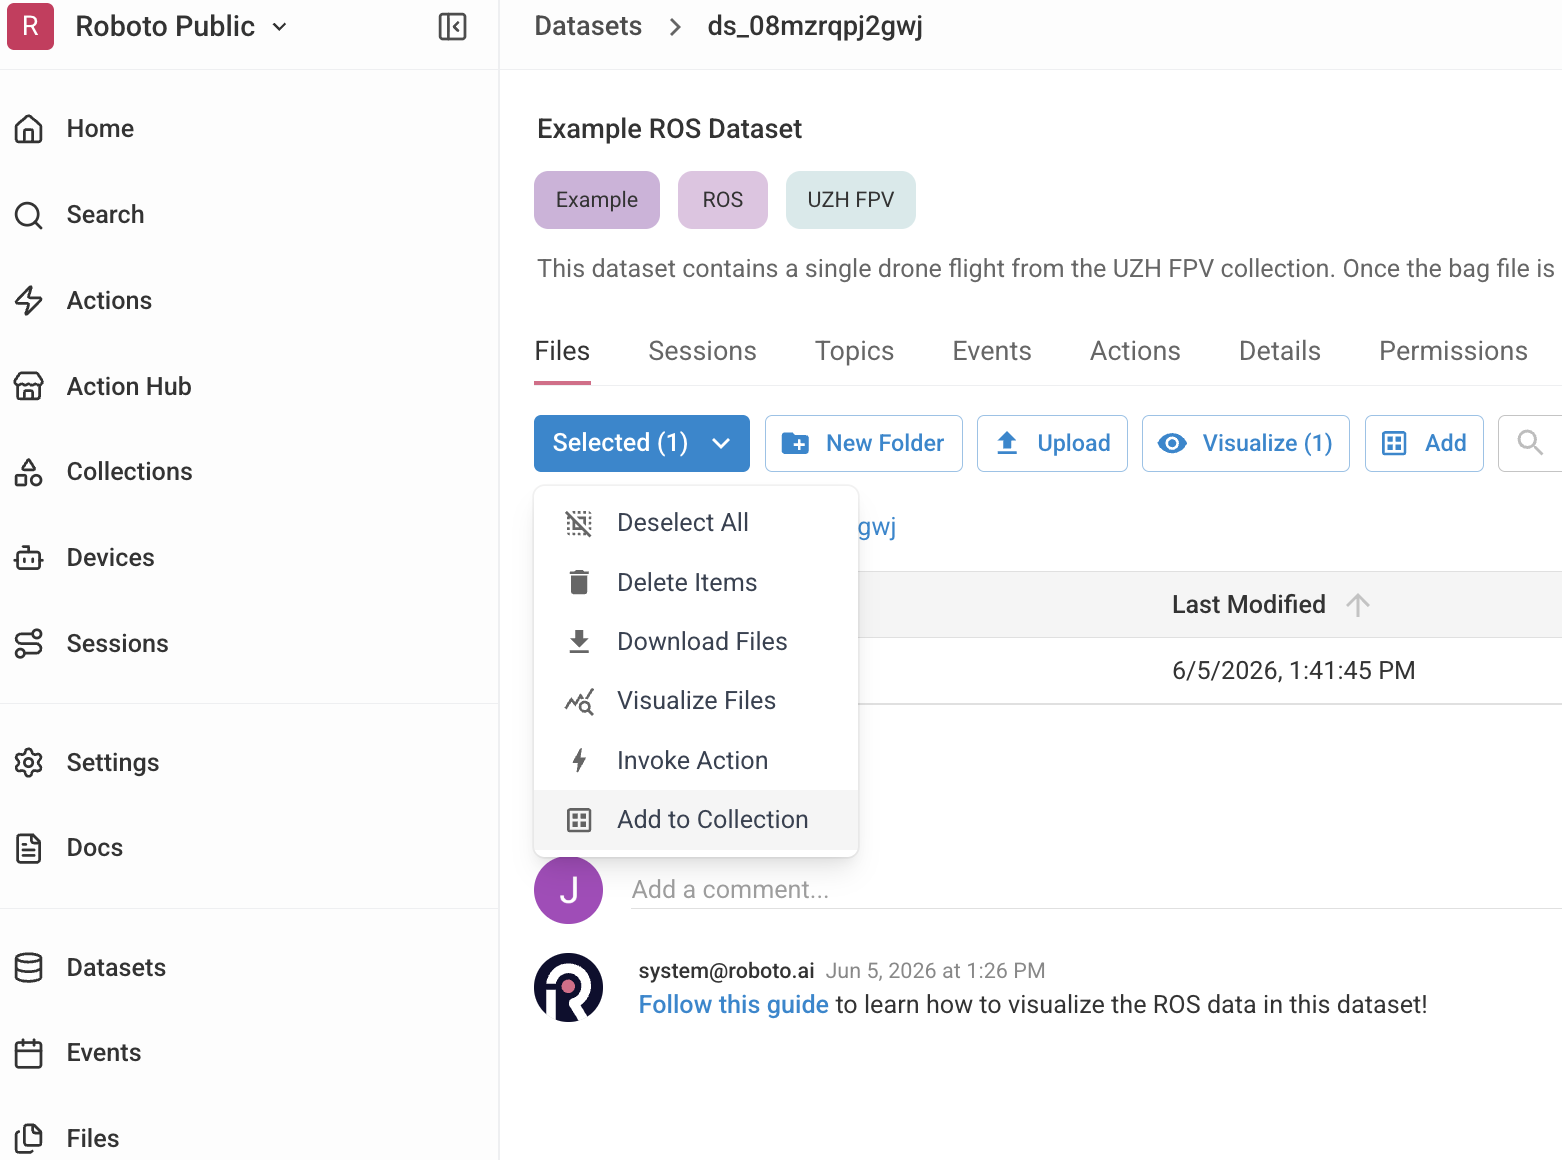
From the file browser of an individual dataset, check one or more files and click Add to Collection in the selected menu, then select your target collection. Alternatively, open the collection detail page, click Add Files, and search across your datasets.
Via the CLI:
# Add individual files by ID
roboto collections update cl_abc123 \
    --add-file-id fi_aaa111 \
    --add-file-id fi_bbb222 \
    --add-file-id fi_ccc333
For a dataset-type collection, use --add-dataset-id instead:
# Add whole datasets to a dataset-type collection
roboto collections update cl_xyz999 \
    --add-dataset-id ds_aaa111 \
    --add-dataset-id ds_bbb222
Via the SDK:
from roboto import Collection

collection = Collection.from_id("cl_abc123")

# Add files one at a time
collection.add_file("fi_aaa111")
collection.add_file("fi_bbb222")

# Or add several in a single API call
from roboto.domain.collections import CollectionResourceRef, CollectionResourceType

collection.update(
    add_resources=[
        CollectionResourceRef(
            resource_type=CollectionResourceType.File,
            resource_id="fi_ccc333",
        ),
        CollectionResourceRef(
            resource_type=CollectionResourceType.File,
            resource_id="fi_ddd444",
        ),
    ]
)
View the collection#
Via the web UI:
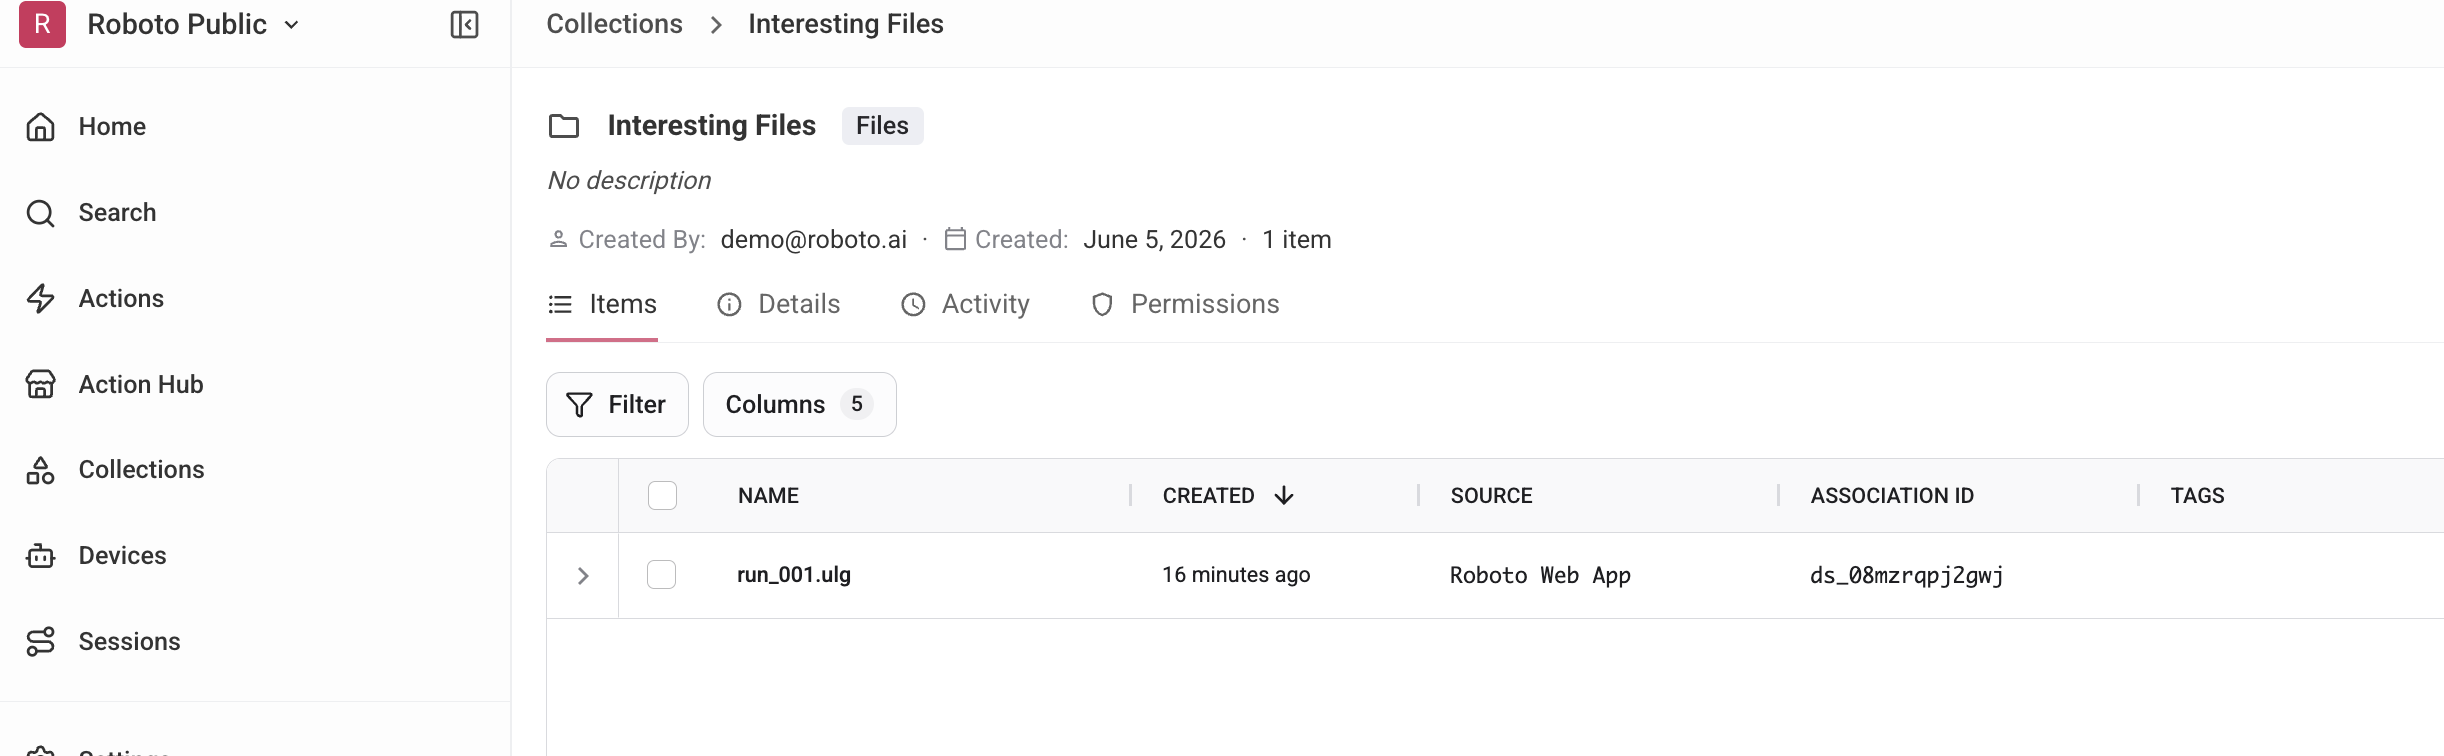
Click the collection in the Collections list. The detail page shows all resources, the current version number, and the full change history.
Via the CLI:
The show command accepts an optional --content-mode flag that controls
how much detail is returned for each resource:
summary_only— collection metadata only, no resource list.references— resource IDs (the default).full— full content of every resource (name, size, path, and so on).
# Show metadata and resource IDs (default)
roboto collections show cl_abc123

# Show with full resource details
roboto collections show cl_abc123 --content-mode full
Via the SDK:
from roboto import Collection
from roboto.domain.collections import CollectionContentMode

# Full mode is the default for Collection.from_id
collection = Collection.from_id("cl_abc123")

# Iterate the file IDs in the collection
for file_id in collection.files:
    print(file_id)

# Request a lightweight summary when resource details are not needed
summary = Collection.from_id(
    "cl_abc123",
    content_mode=CollectionContentMode.SummaryOnly,
)
print(summary.record.name, summary.record.version)
List all collections#
Via the CLI:
# List all collections in your org (returns resource IDs by default)
roboto collections list

# Return only metadata for each collection
roboto collections list --content-mode summary_only
Via the SDK:
from roboto import Collection

for collection in Collection.list_all():
    print(collection.collection_id, collection.record.name, collection.record.tags)
Collection.list_all() returns a generator and pages results automatically,
so it handles organisations with large numbers of collections without loading
all records into memory.
Search for collections with RoboQL#
Use RoboQL to search for collections by name, tags, resource type, or any other
queryable field. Run these queries from the Search page in the web UI or from
the CLI with roboto collections search.
tags CONTAINS "training"
resource_type = "file" AND name CONTAINS "camera"
Via the SDK:
from roboto import RobotoSearch
from roboto.query import QueryClient

search = RobotoSearch(QueryClient())
for collection in search.find_collections('tags CONTAINS "training"'):
    print(collection.collection_id, collection.record.name)
See the RoboQL Fields reference for the full set of queryable collection fields.
Remove resources and update metadata#
Via the CLI:
# Remove a file
roboto collections update cl_abc123 --remove-file-id fi_aaa111

# Rename, add a tag, and remove a tag in one call
roboto collections update cl_abc123 \
    --name "Training images Q2 — validated" \
    --add-tag validated \
    --remove-tag draft
Via the SDK:
from roboto import Collection

collection = Collection.from_id("cl_abc123")

# Remove a single file
collection.remove_file("fi_aaa111")

# Update name and tags
collection.update(
    name="Training images Q2 — validated",
    add_tags=["validated"],
    remove_tags=["draft"],
)
Pin a version for reproducibility#
Every change to a collection — adding or removing a resource, renaming it, or updating its tags — increments its version number. When you hand a collection off to a training pipeline or a colleague, record the current version so you can recover the exact contents later.
Via the CLI:
# Inspect the current version number (look for "version" in the output)
roboto collections show cl_abc123

# Retrieve the collection exactly as it was at version 4
roboto collections show cl_abc123 --collection-version 4
Via the SDK:
from roboto import Collection

# Retrieve an immutable snapshot at version 4
snapshot = Collection.from_id("cl_abc123", version=4)
print(snapshot.record.version)  # 4

# Inspect what changed between versions 3 and 4
for change in snapshot.changes(from_version=3, to_version=4):
    print(change.change_set)
See Collections for a full explanation of how versioning works.
Delete a collection#
Via the web UI:
Open the collection detail page and click Delete Collection in the settings panel, then confirm.
Via the CLI:
roboto collections delete cl_abc123
Via the SDK:
collection.delete()
Note
Deleting a collection removes only the collection container. The underlying datasets, files, and events are not affected.