Run your first action (UI)#
This guide shows how to invoke a Roboto Action on files in a dataset. In this example, we will run the YOLOv8 object detection algorithm on image frames in a rosbag, using a publicly available action from the Roboto Action Hub.
We will be using sample data from nuScenes by Motional, a well-known collection of autonomous driving imagery. While this example involves object detection, Roboto Actions are highly versatile and can be used to automate any type of data transformation, processing, or analysis workflow, tailored to your specific needs.
Preparation#
Create a Roboto Account and sign in.
Learn the core concepts of Roboto: Concepts.
Create a dataset#
After logging in, you can create a dataset using the + icon in the top navigation bar.
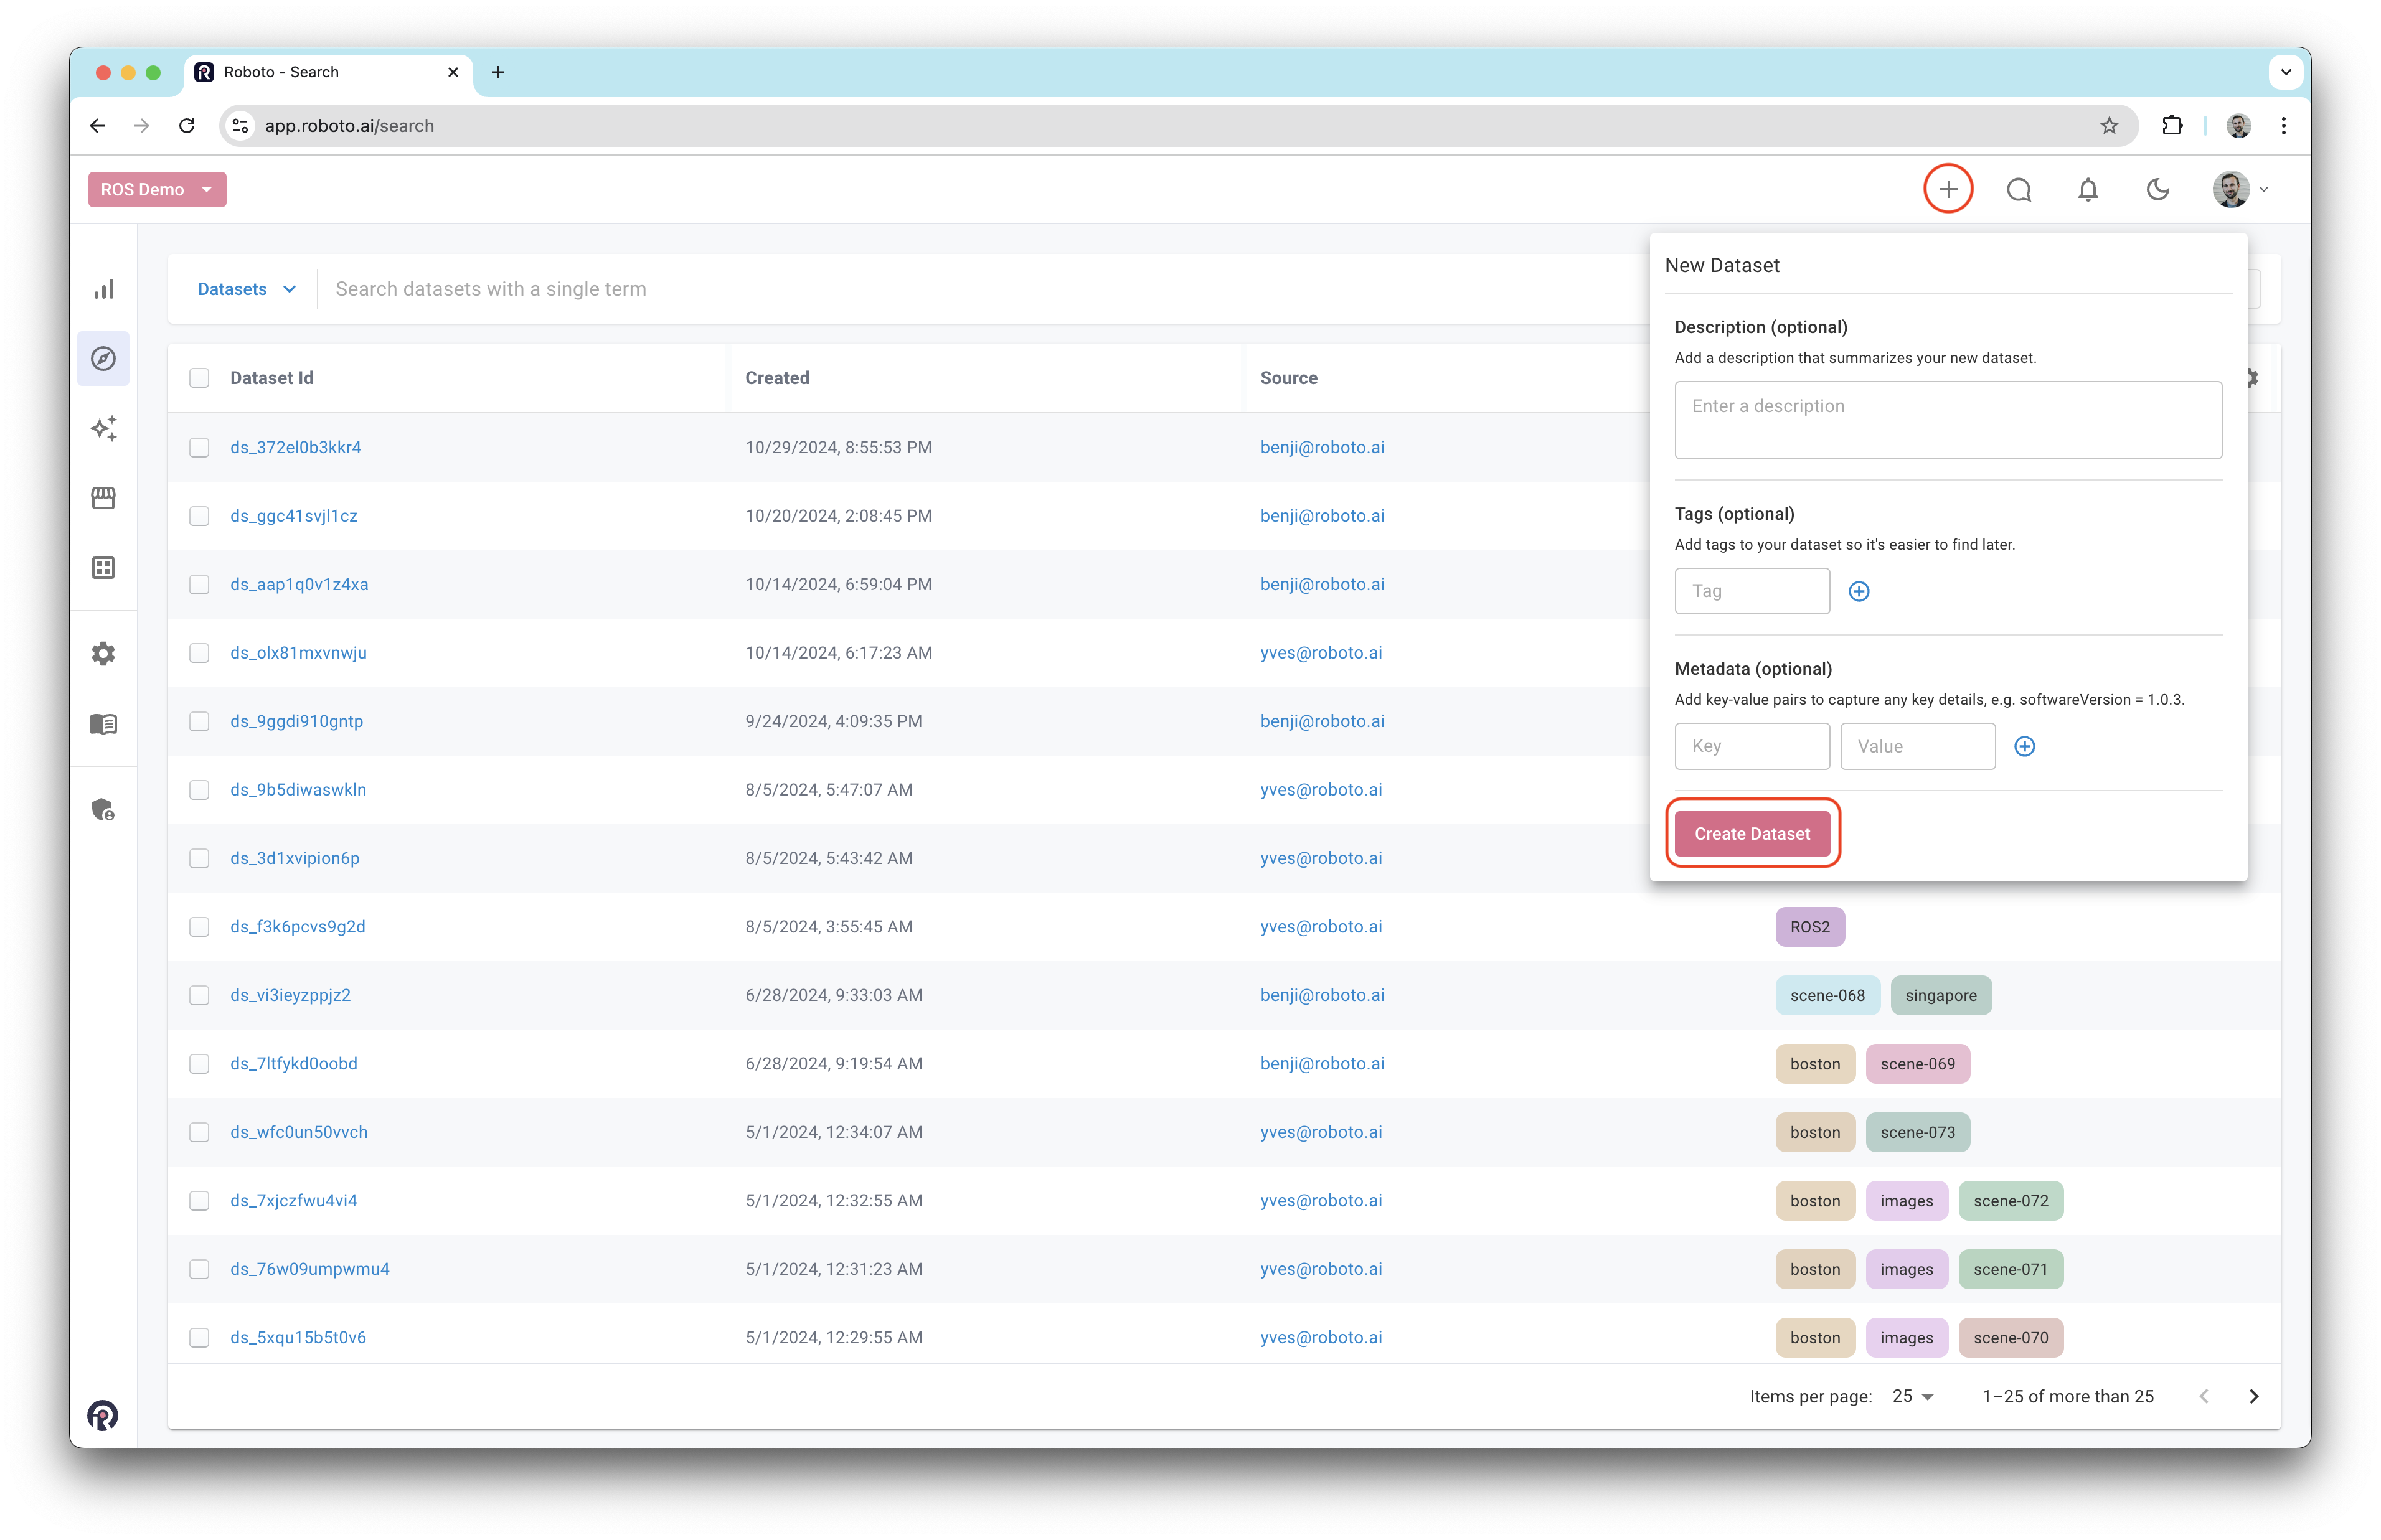
Once created, download this sample bag (
nuscenes-tiny.bag) and upload it to your dataset.After uploading the file, Roboto will automatically trigger the ingestion process. A blue spinner next to the Actions tab indicates that ingestion is in progress. This may take a few seconds to appear if Roboto is under heavy load.
Note
If you don’t see the spinner appear, you may not have a ROS ingestion trigger configured in your account. Follow the steps at ROS Triggers to add one.

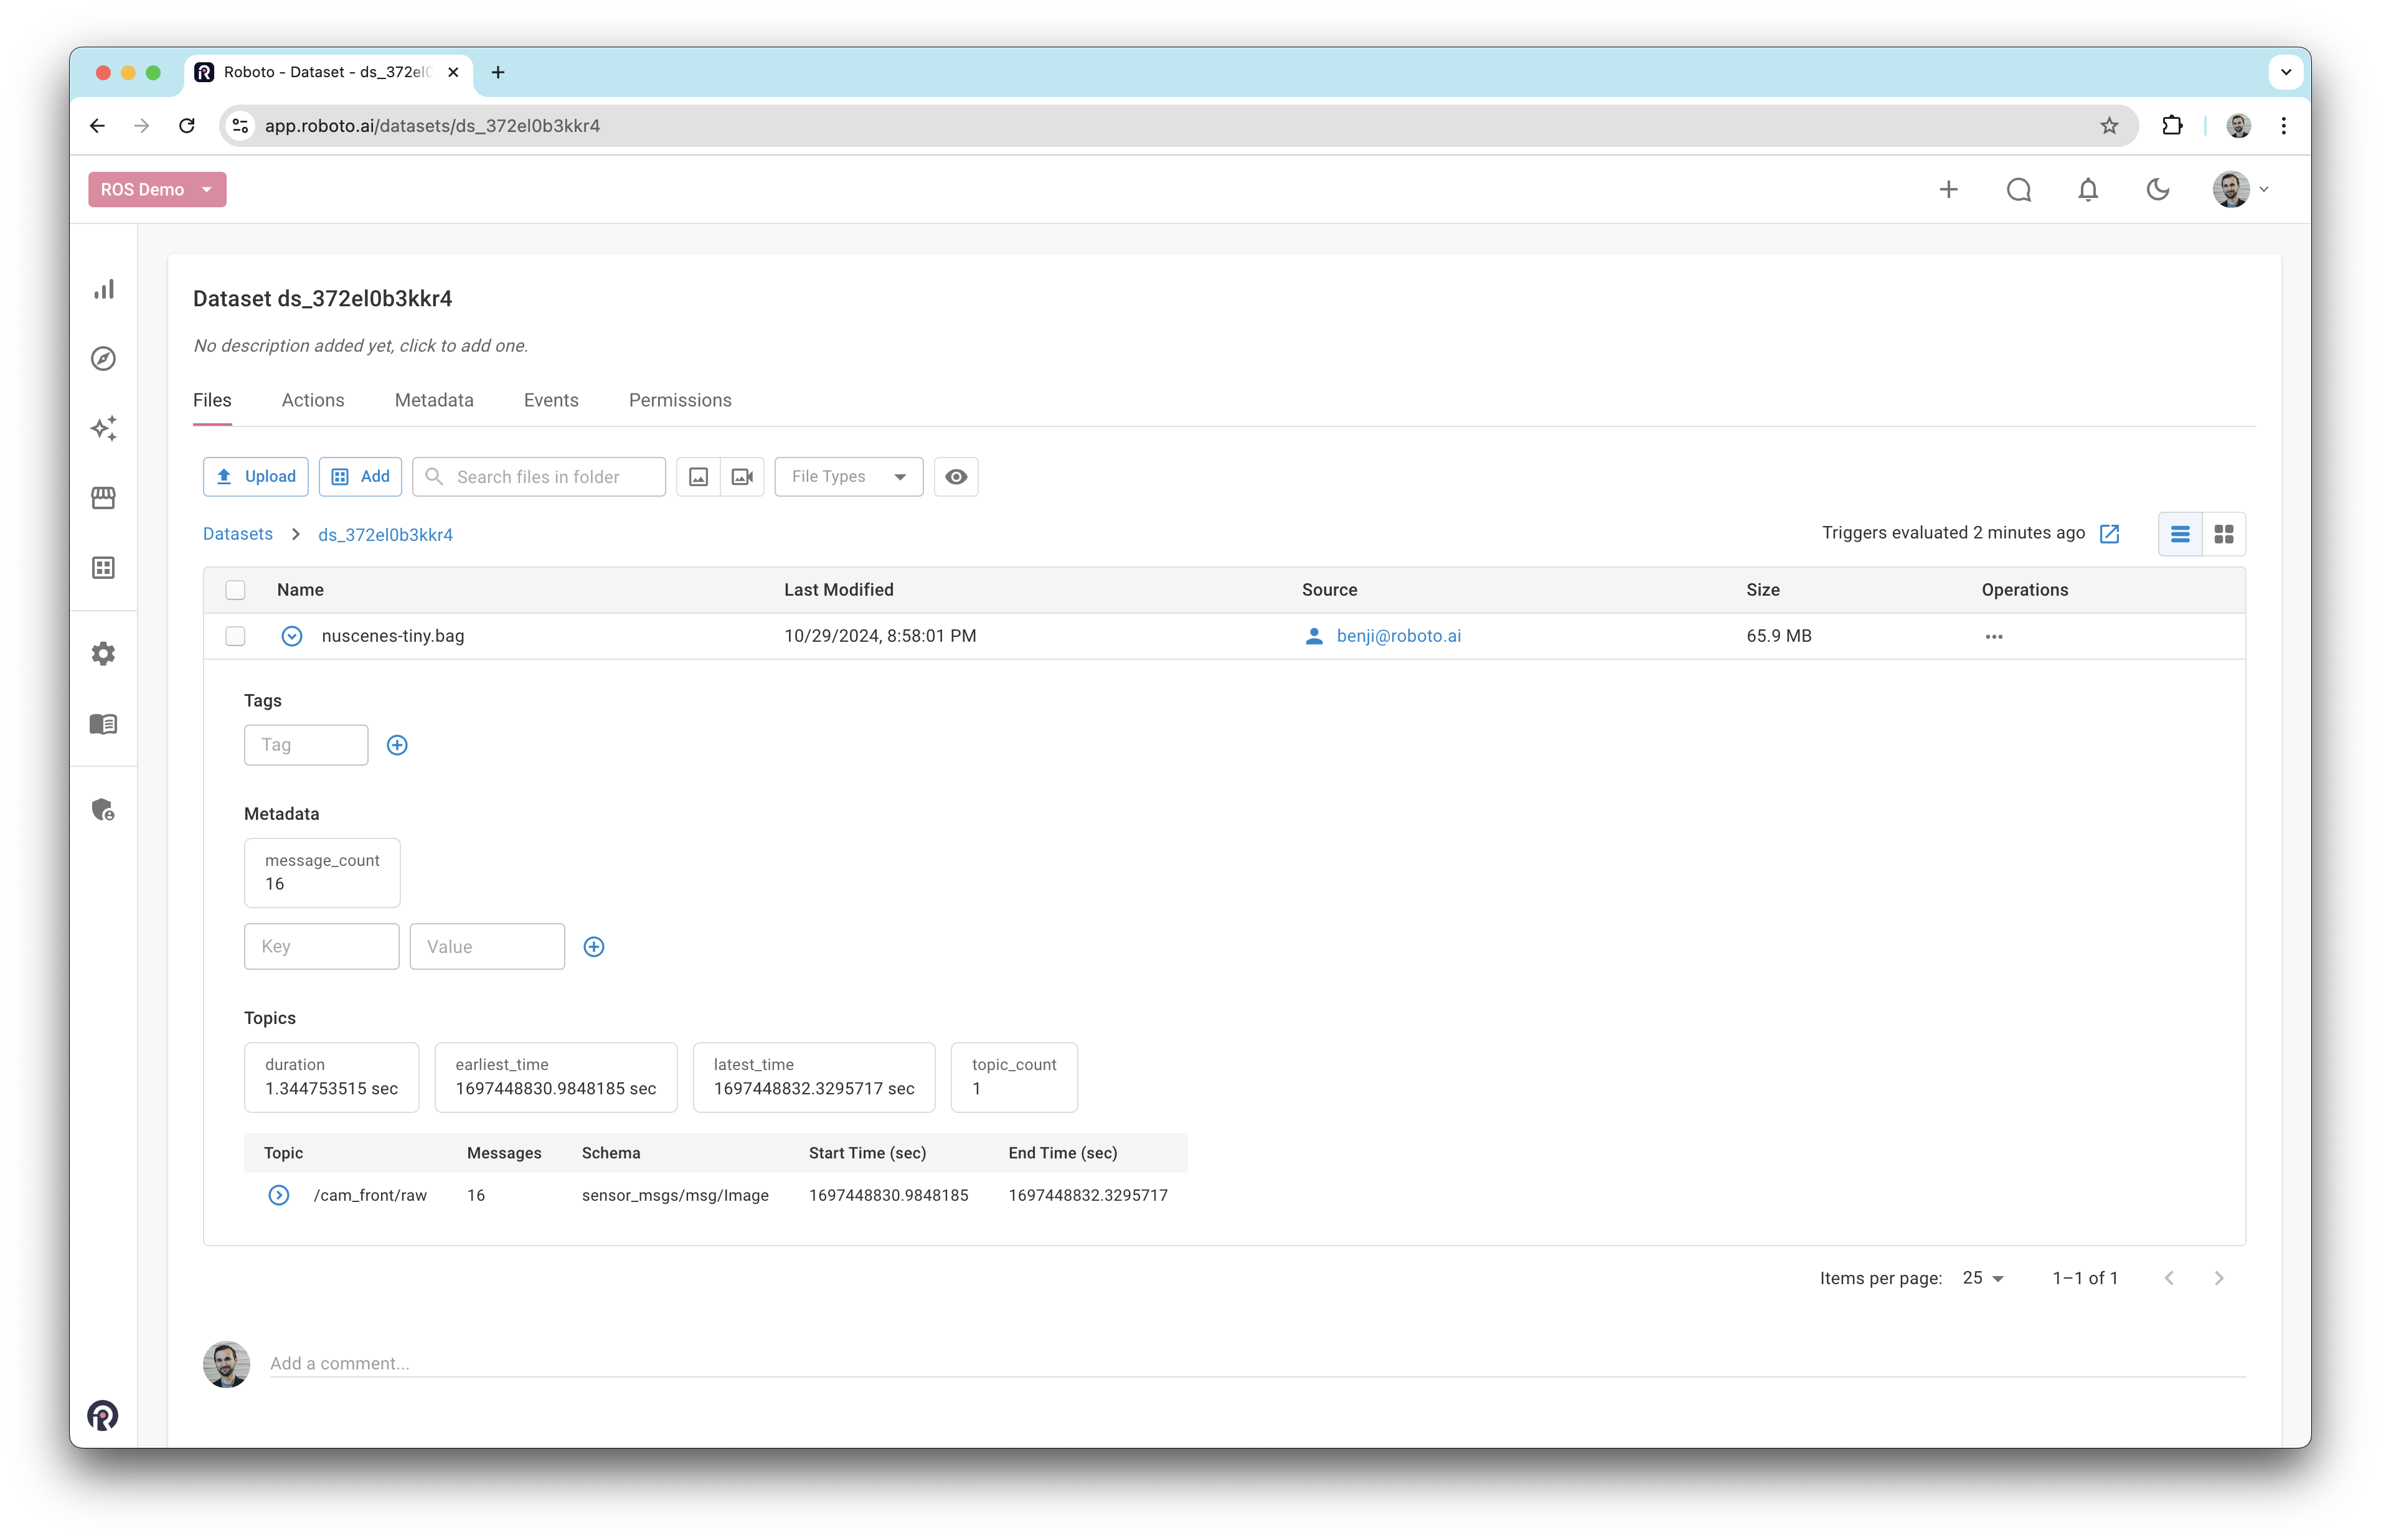
Once the file has been ingested, you can click the blue chevron next to the file to view its metadata and topics. For the
nuscenes-tiny.bagthere is just a single image topic called/cam_front/raw.
Run an action#
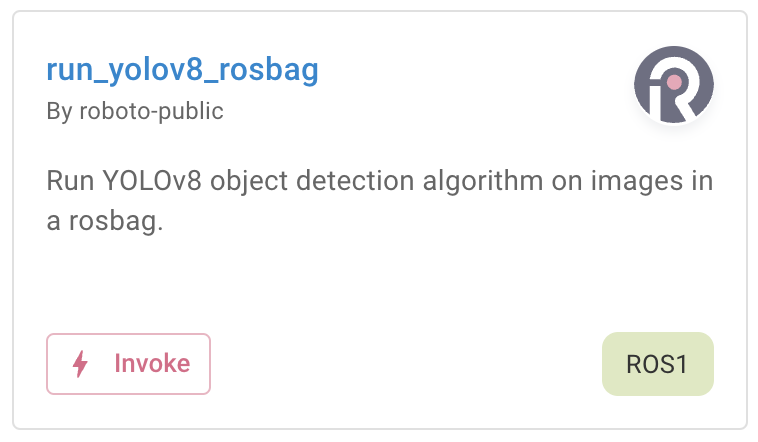
Proceed to the Action Hub using the left navigation menu. A compilation of accessible actions will be displayed. Apply the
ROS1filter and click therun_yolov8_rosbagaction:
An overview of the action, inclusive of its applicable parameters, will be presented. A GitHub link is also provided for direct access to the action’s source code.
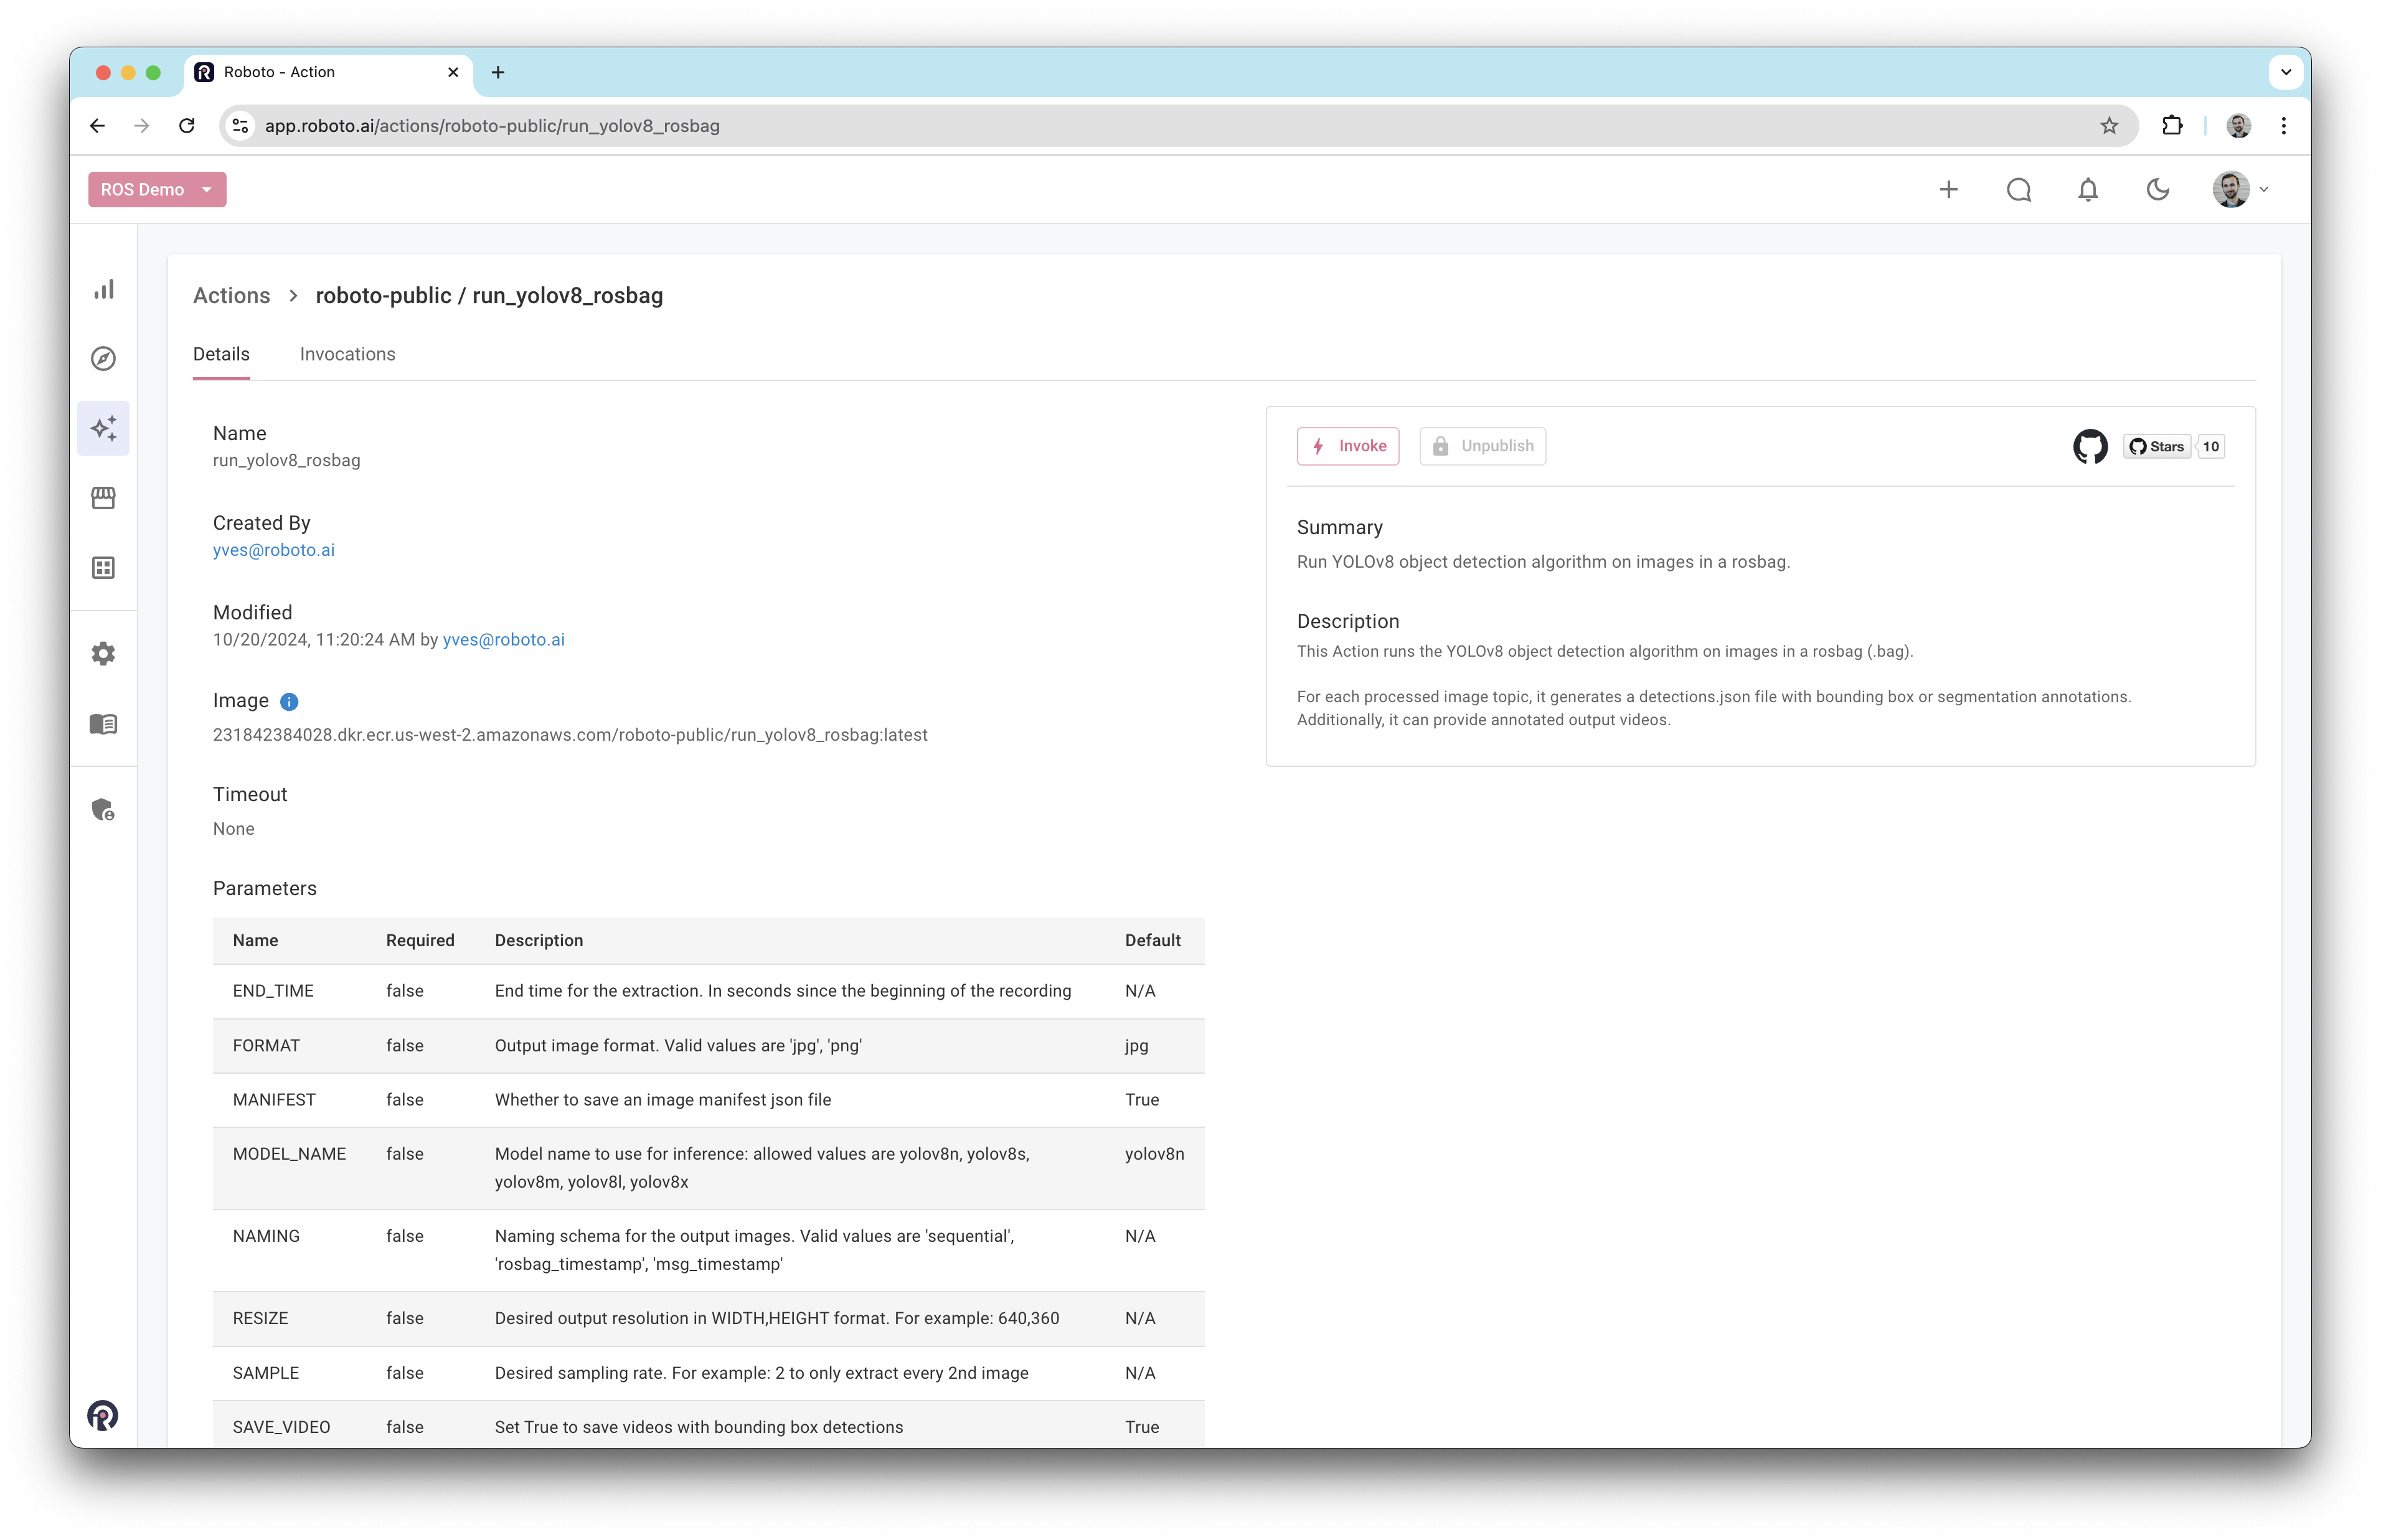
Run the action by clicking the Invoke button, located on the side of the page, leading you to the invocation form.
In the Dataset field, choose the example dataset you created previously, and input
*.baginto the Input Data field.
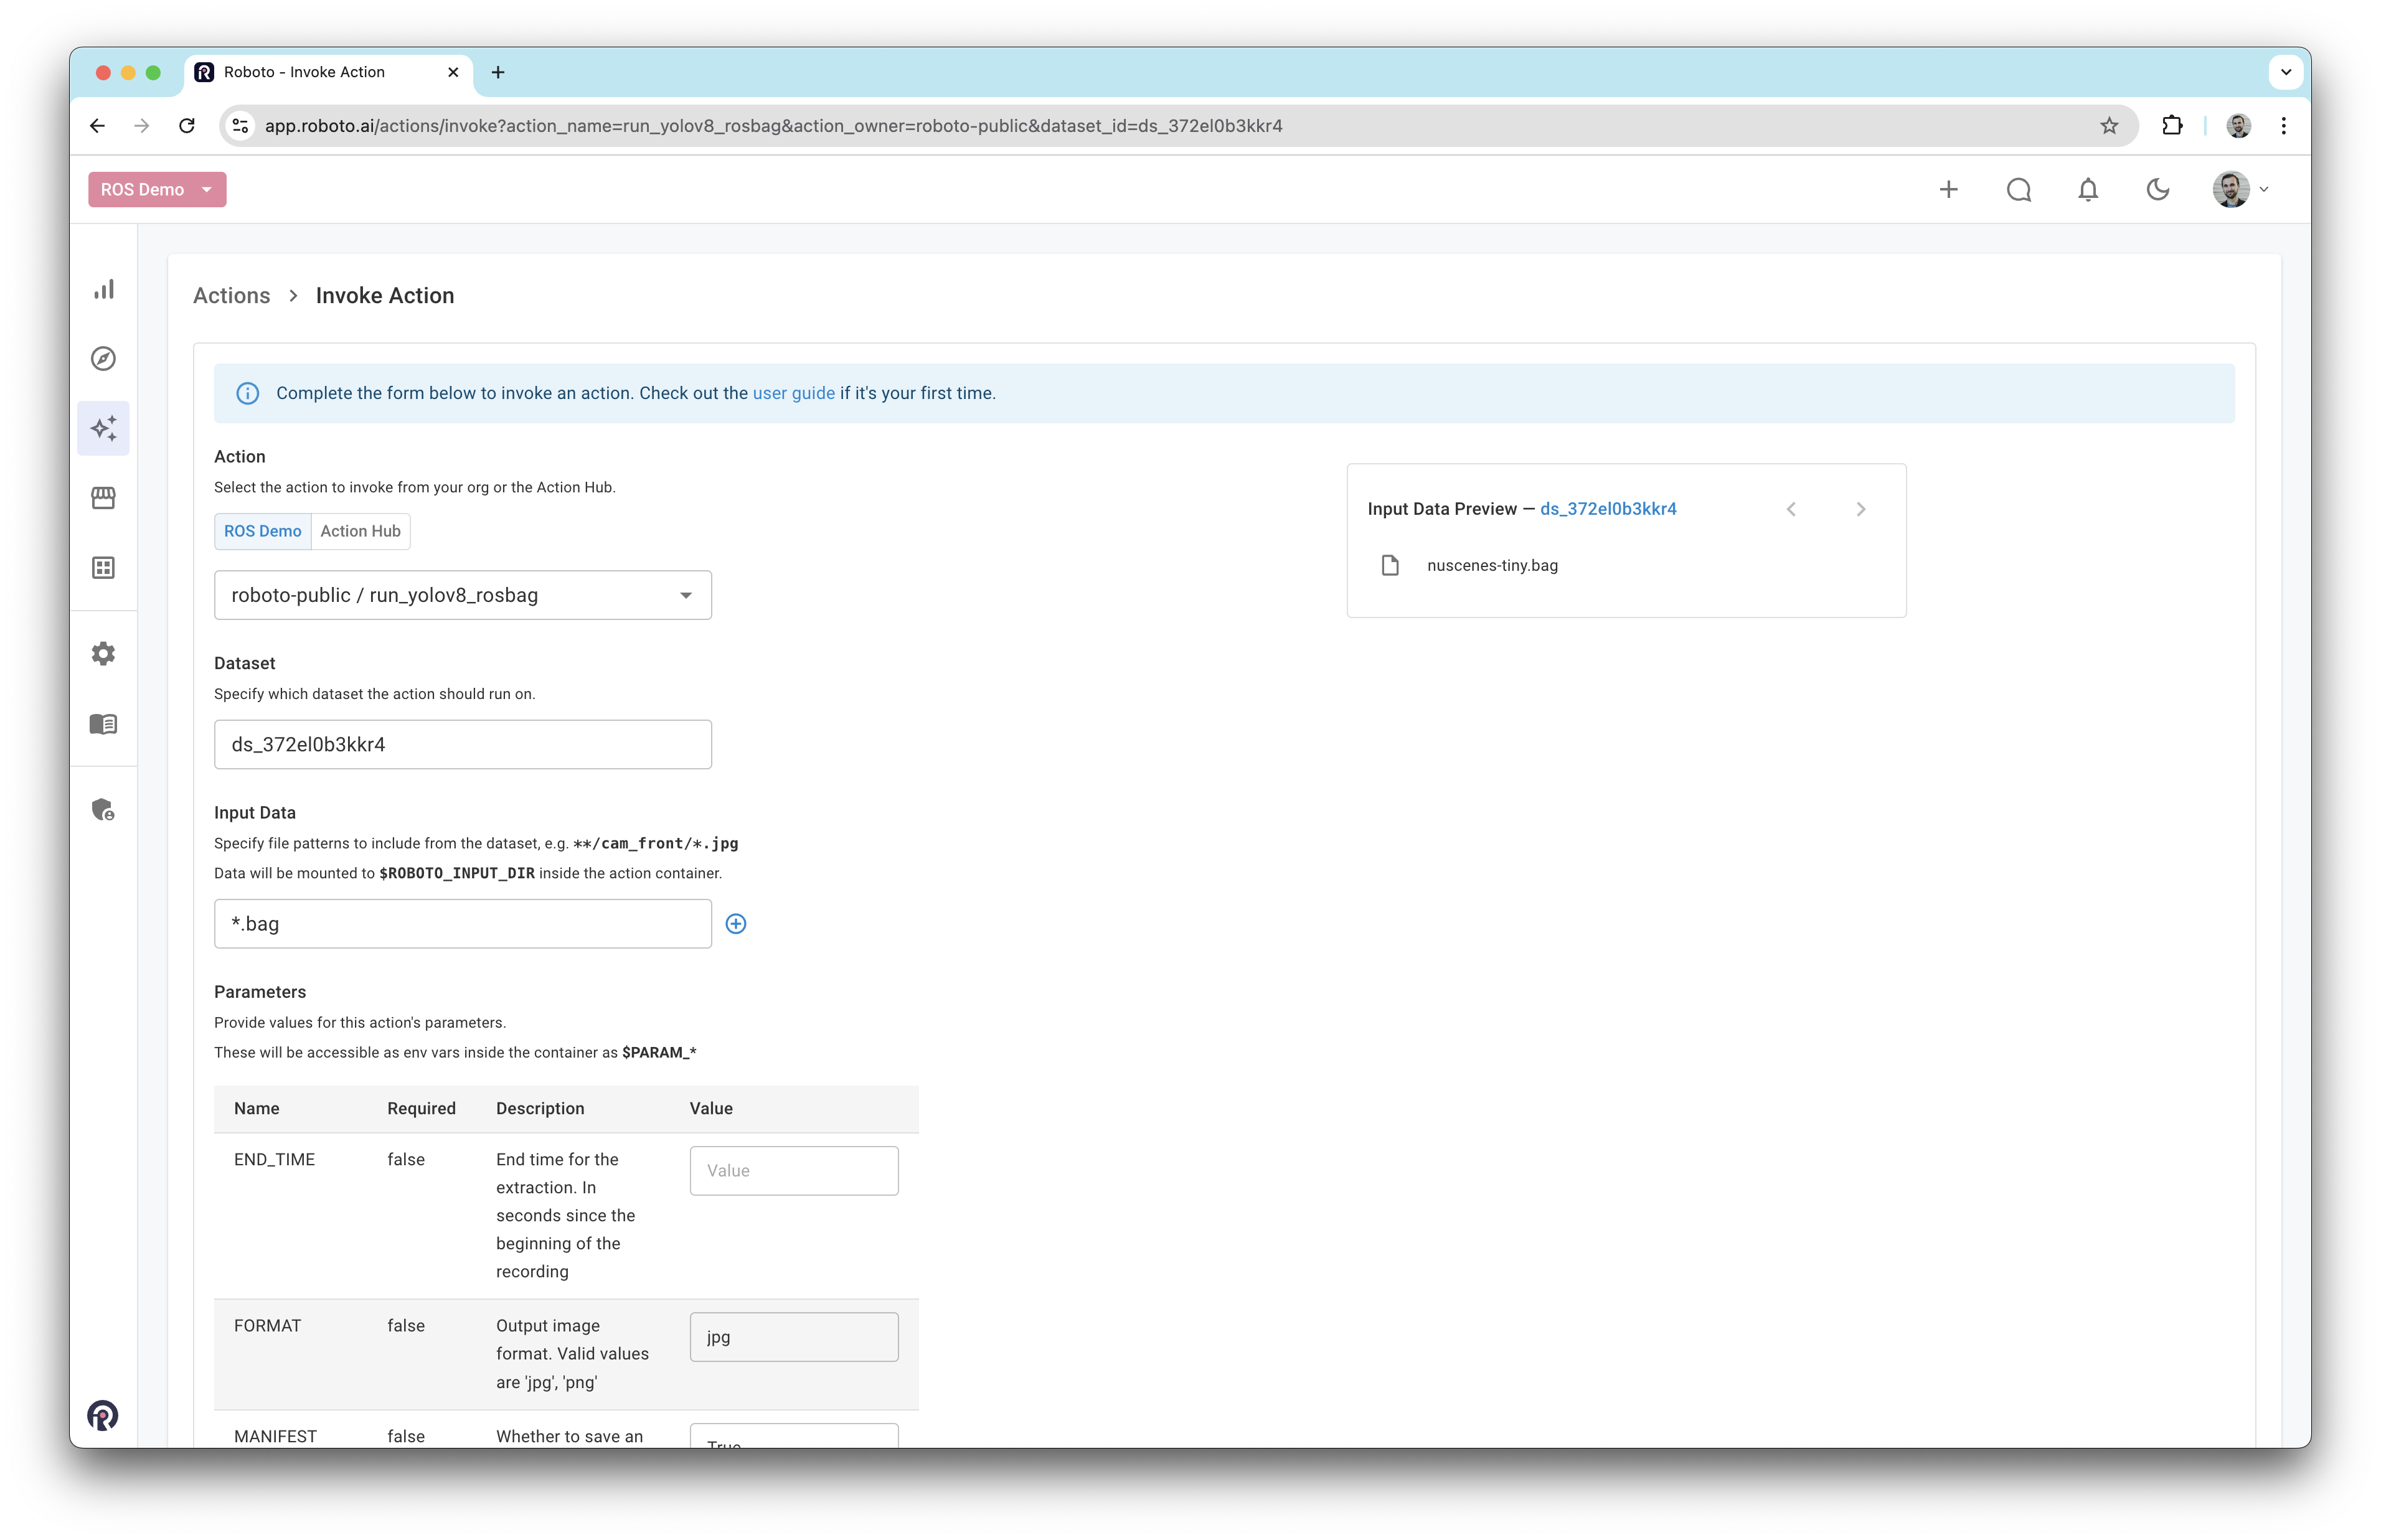
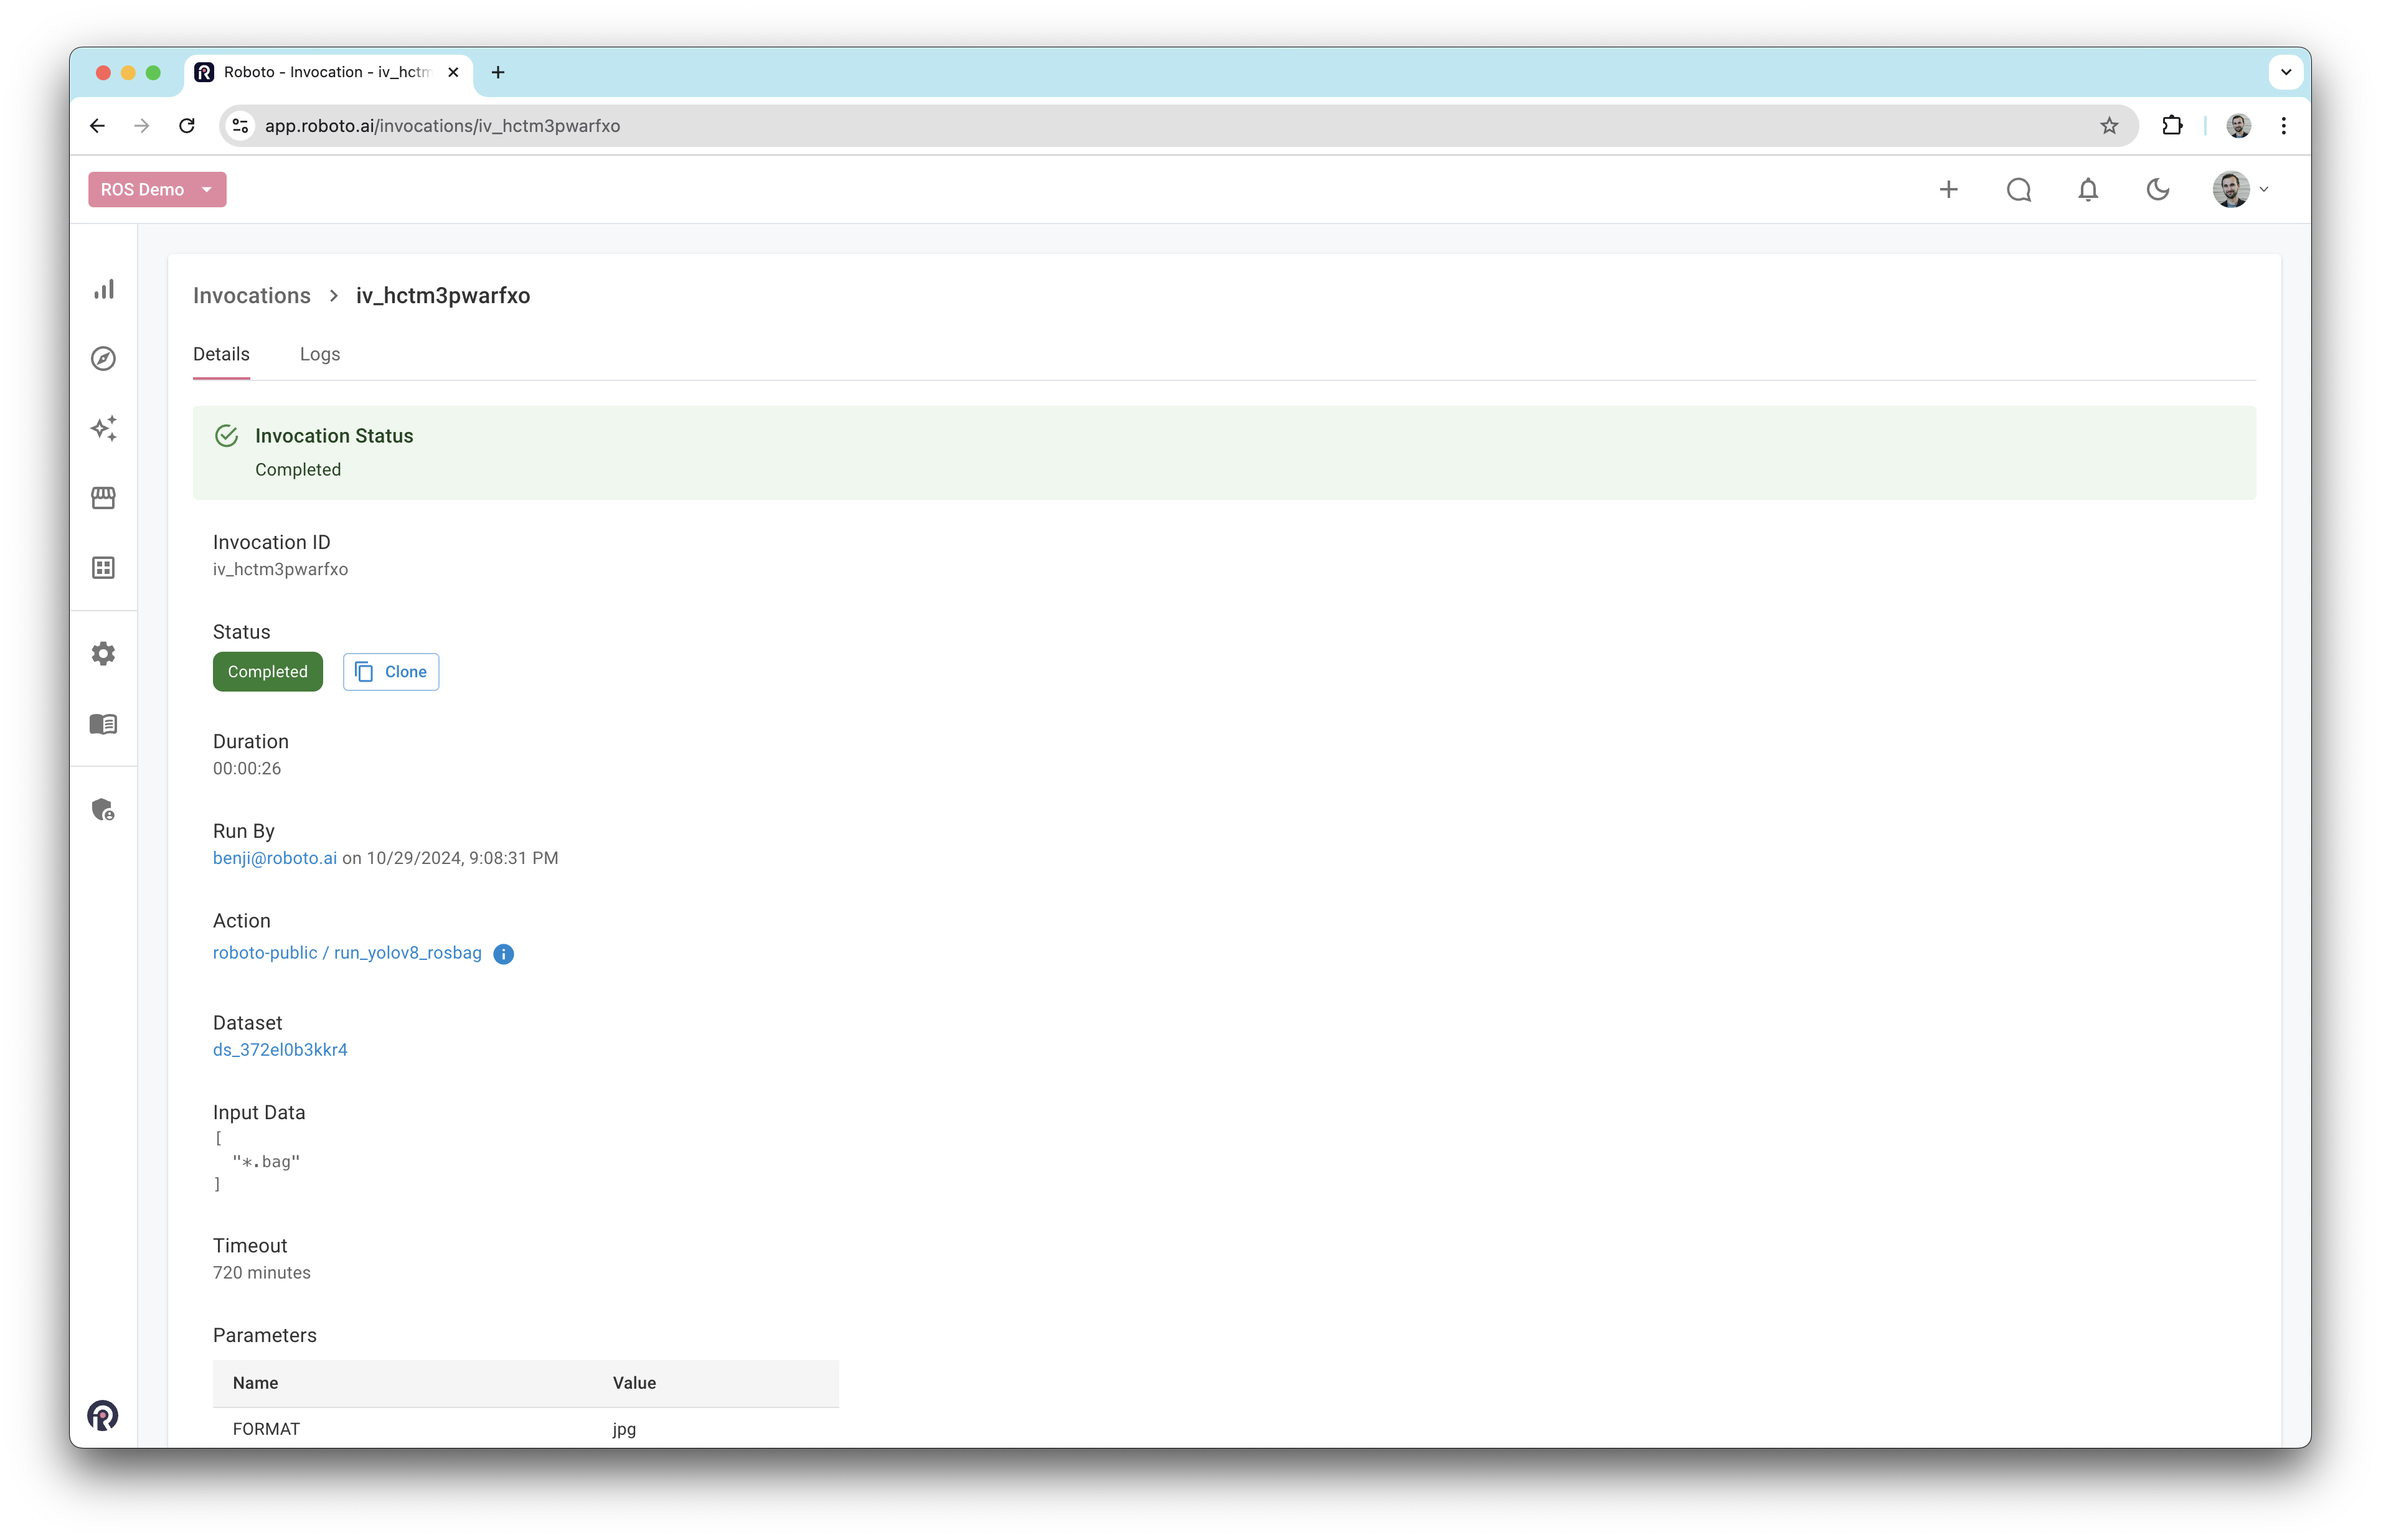
Now click the
Invokebutton at the bottom of the page to run the action. The action will be initiated on the dataset and eventually move to theCompletedstate if successful.
Review the results#
Navigate back to the dataset you created. You will notice that a new
nuscenes-tinydirectory was created next to the original bag file.
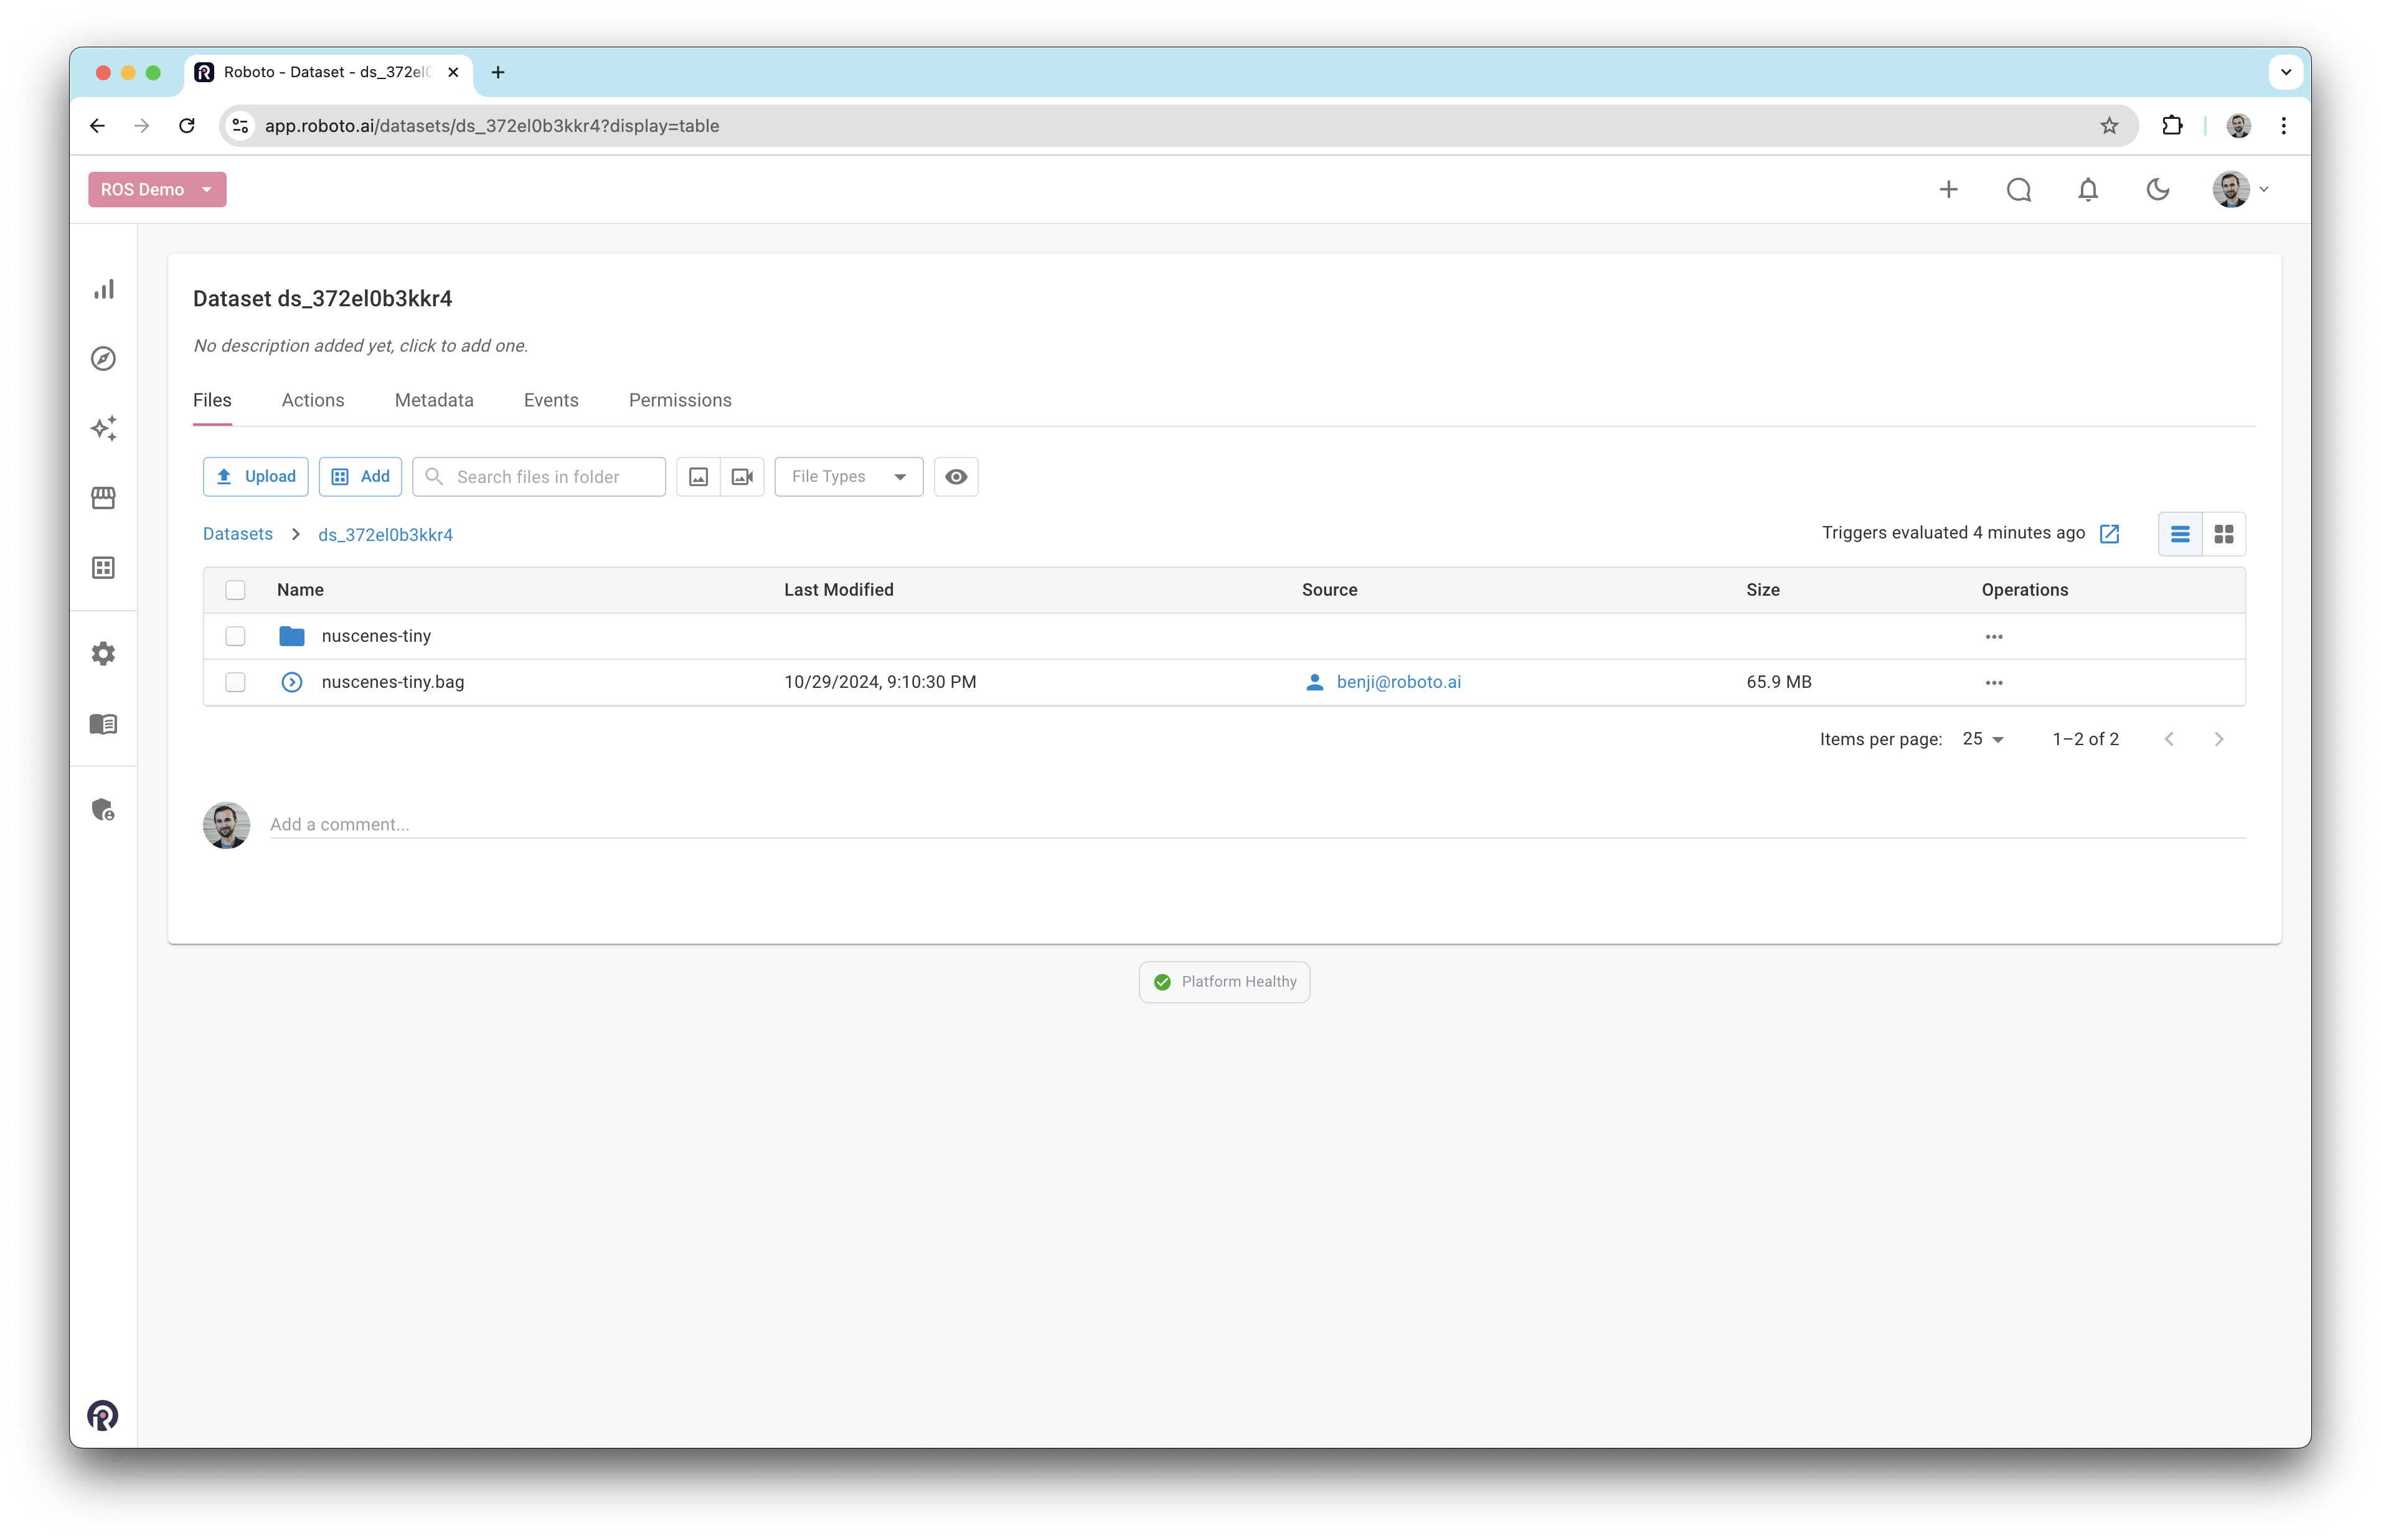
Inside it, you can find the following files:
cam_front_raw/video.mp4: video showing the YOLOv8 detections.cam_front_raw/imgs/*.jpg: image frames extracted from the/cam_front/rawtopic.cam_front_raw/imgs/detections.json: file containing the detections in JSON format.
Conclusion#
And that’s it! We’ve successfully invoked a Roboto Action on a rosbag file, ran the YOLOv8 object detection algorithm and generated detections on the image frames.
From here, you can further inspect the detection results or use this workflow as a template to run other actions on different datasets. Roboto Actions make it easy to automate and scale data processing—ready to fit whatever your project needs.
See the next user guide to learn how to run actions using the CLI.